
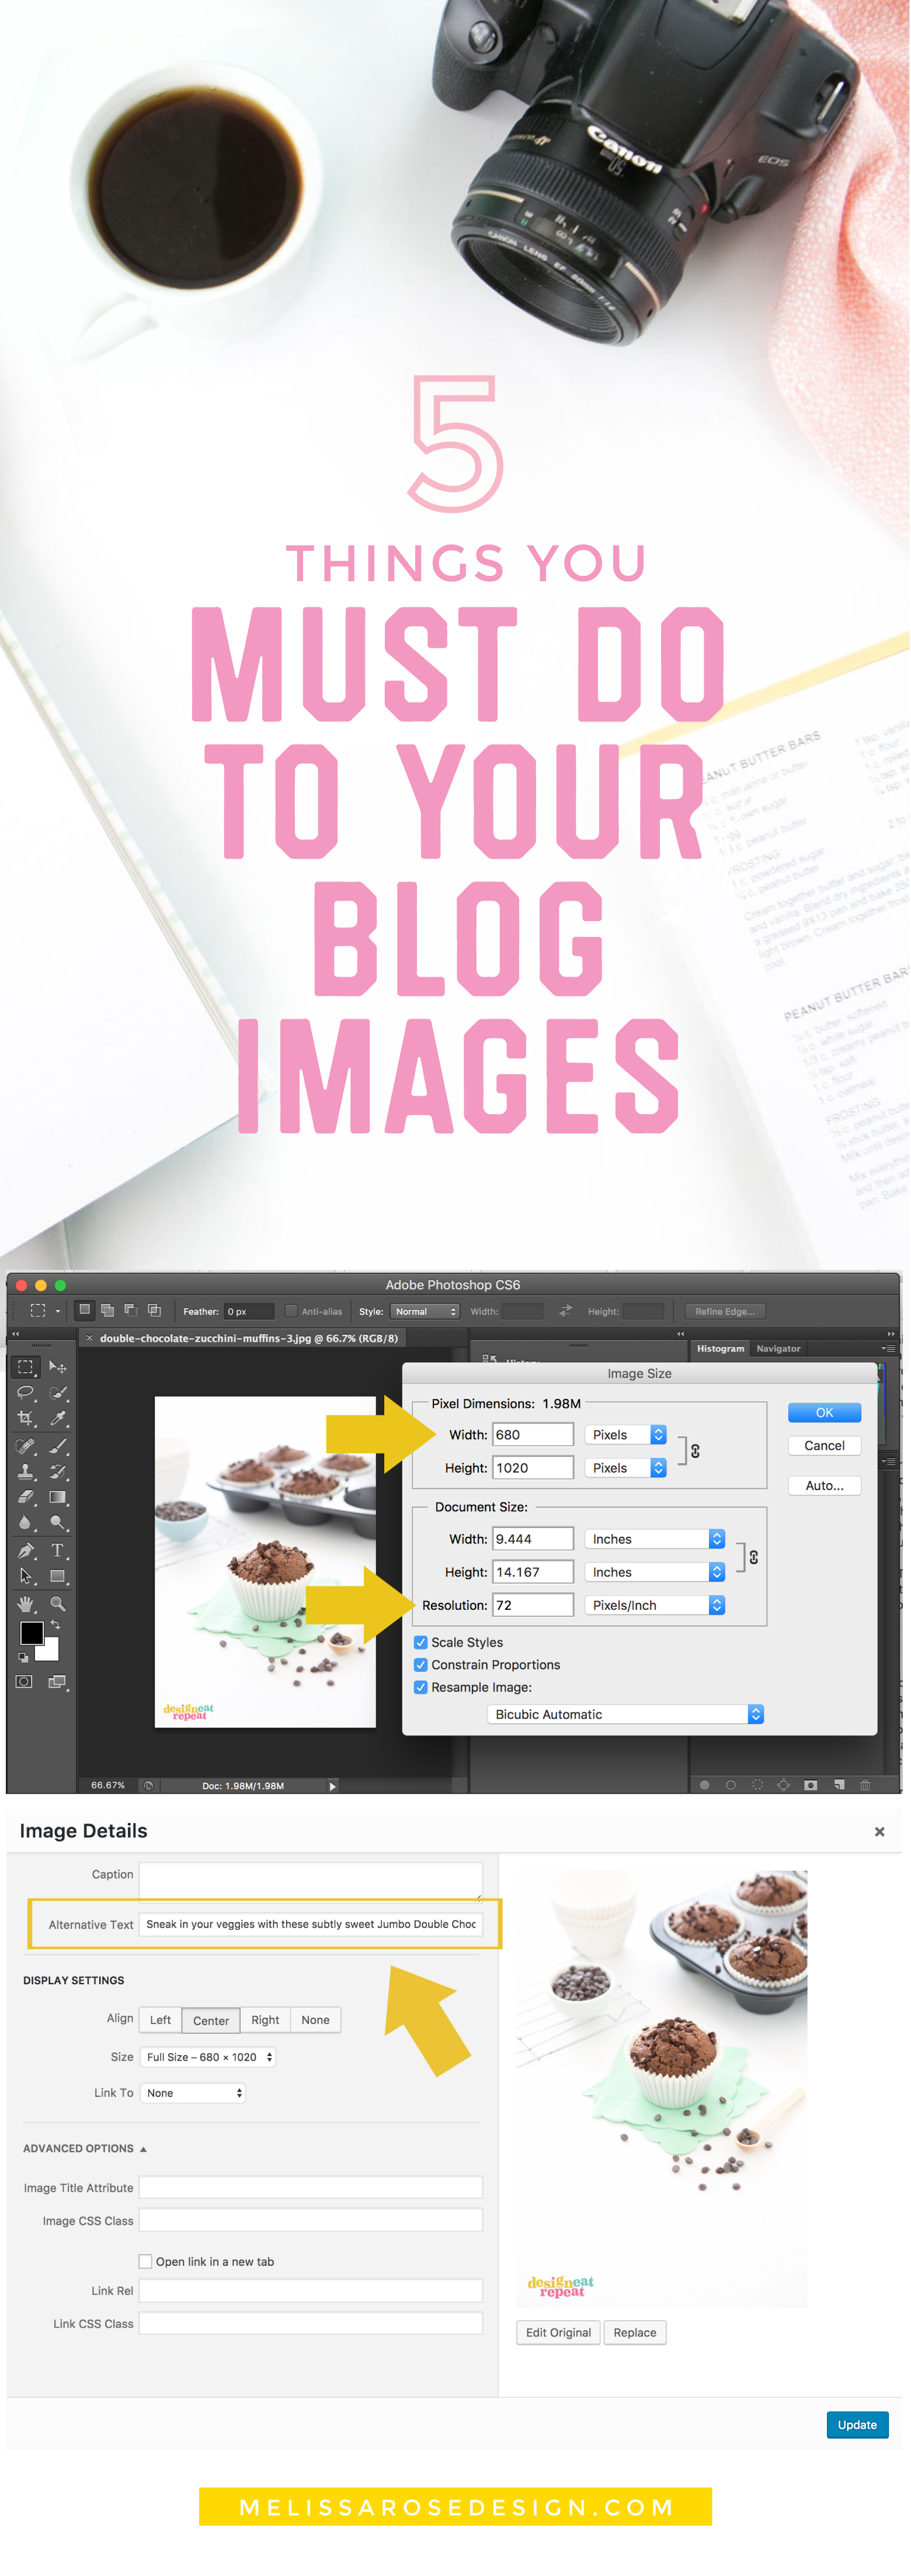
Over the years of working with professional bloggers, I’ve found that while most are super savvy in the marketing department, many struggle with the technical side of blogging and are often unsure what the best way to set up image files is. So today I’m walking through 5 crucial things you should be doing to your blog images to best optimize them for speed, SEO, and sharing.
1. Properly Name Your Images
One of the biggest mistakes I see bloggers make is that they upload their images to WordPress with the default “IMG_029.jpg” filename instead of renaming the file and optimizing it for Google and Pinterest Searches. There are two main issues with this that may be preventing people from finding your posts:
First, when someone goes to pin a post from your site, some plug-ins will pull your file name as the ‘pin description’. So instead of it pulling a pretty ol’ “Double Chocolate Zucchini Muffins” as the description (or another description you assign to it), it will pull a non descriptive “IMG_029.jpg”. Which one would you rather pin?
Second, if you go to all the hard work of writing a post on ‘Double Chocolate Zucchini Muffins’ but you don’t rename your images to something like “double-chocolate-zucchini-muffins.jpg”, then how will the search engines be able to pull your post? If you ever do a Google search and click on the “images” tab, your images will be more likely to show up there if named according to your keywords.
How to Do This: Before uploading to WordPress, right click on your file name and select “rename”. Rename file to include your keywords, separating each word with a hyphen. For example, you would name your file “double-chocolate-zucchini-muffins.jpg”.
2. Customize Pinterest Description in WordPress
After renaming your actual file names, another way to make sure that the images being pinned from your site have nice & pretty descriptions is to make sure you are setting up “Alt” text for each one. Again, depending on the Pinterest plug-in you are using, without adding “Alt” text your pin description might just show up as your file name (double-chocolate-zucchini-muffins.jpg) or as the blog post title.
Update 4/15: it is now circulating in the blog world that instead of “pinterest descriptions” we should be naming the ALT tags describing the words. This not only tells Google what is in the image, but also helps the visually impaired. For example, instead of writing a caption like in the image below, you would put something like “Chocolate protein muffins on green napkin with cupcake pan”.

How to Do This: When uploading an image to WordPress, type the descriptive ALT tag in the “Alt” box. To still be able to indicate to Pinterest what image to pull, you can assign a pinterest specific description in a plugin like Social Warfare.
3. Save Images With Correct Resolution
Another mistake I see a lot of bloggers make is that they are uploading images much larger than they need for the web. When an image comes straight off your camera, it is likely 2,000-3,000 pixels wide and around 300dpi (high resolution meant for printed pieces).
But if you upload those high resolution images to your site, you are going to significantly slow down your site and image load times, because you are uploading them much larger than they need to be. Standard screen resolution is 72ppi, so there is no need to upload your images at print resolution (300dpi). Instead, save your images to a resolution 72ppi and change the width of your images to fit your blog width.
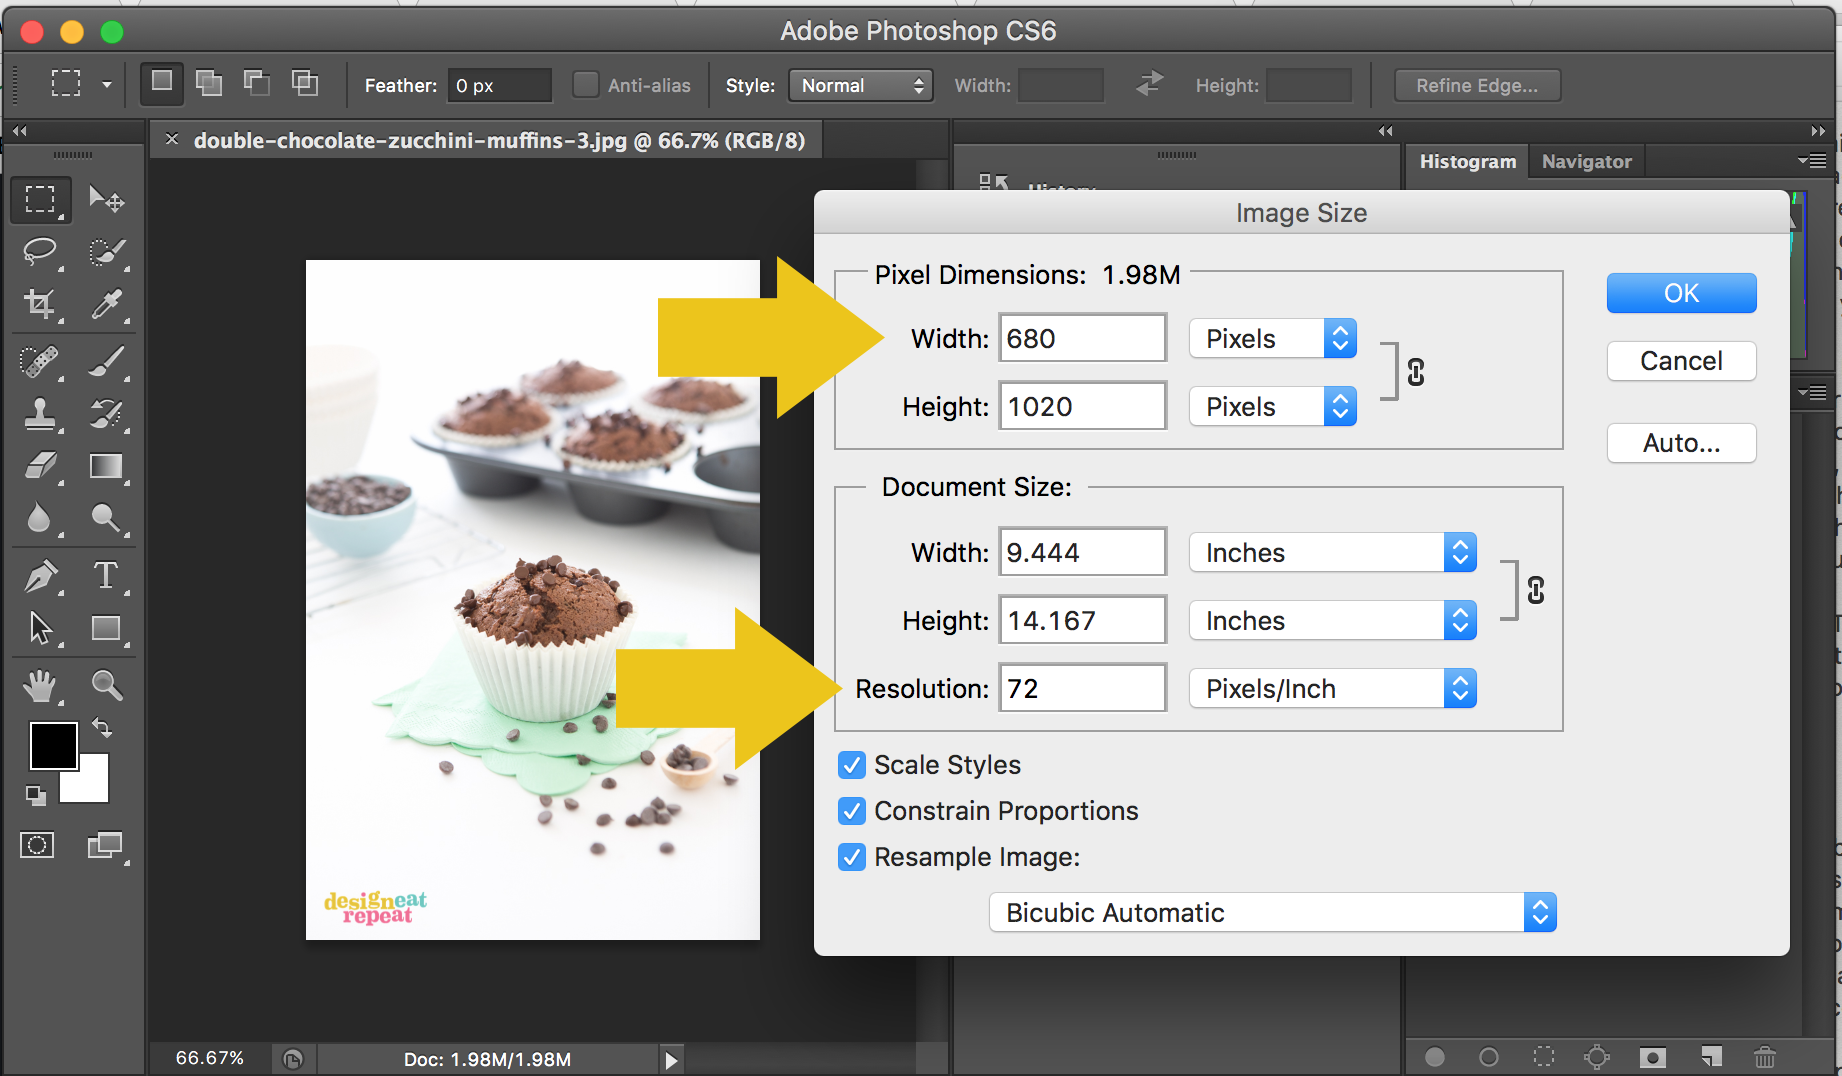
How to Do This: Determine the width of your blog’s post area and save your images to that amount of pixels. To do this in Photoshop, go to Image > Image Size and change resolution to 72ppi and the width to your blogs’s width. Read more about how to size your images for speed here.
Tip: If you’re on a Mac, make sure your browser is set to display at 100% and then use then hit Shift + Command + 4 to bring up the screenshot tool. Drag that box across your post area to determine how many pixels wide it is.
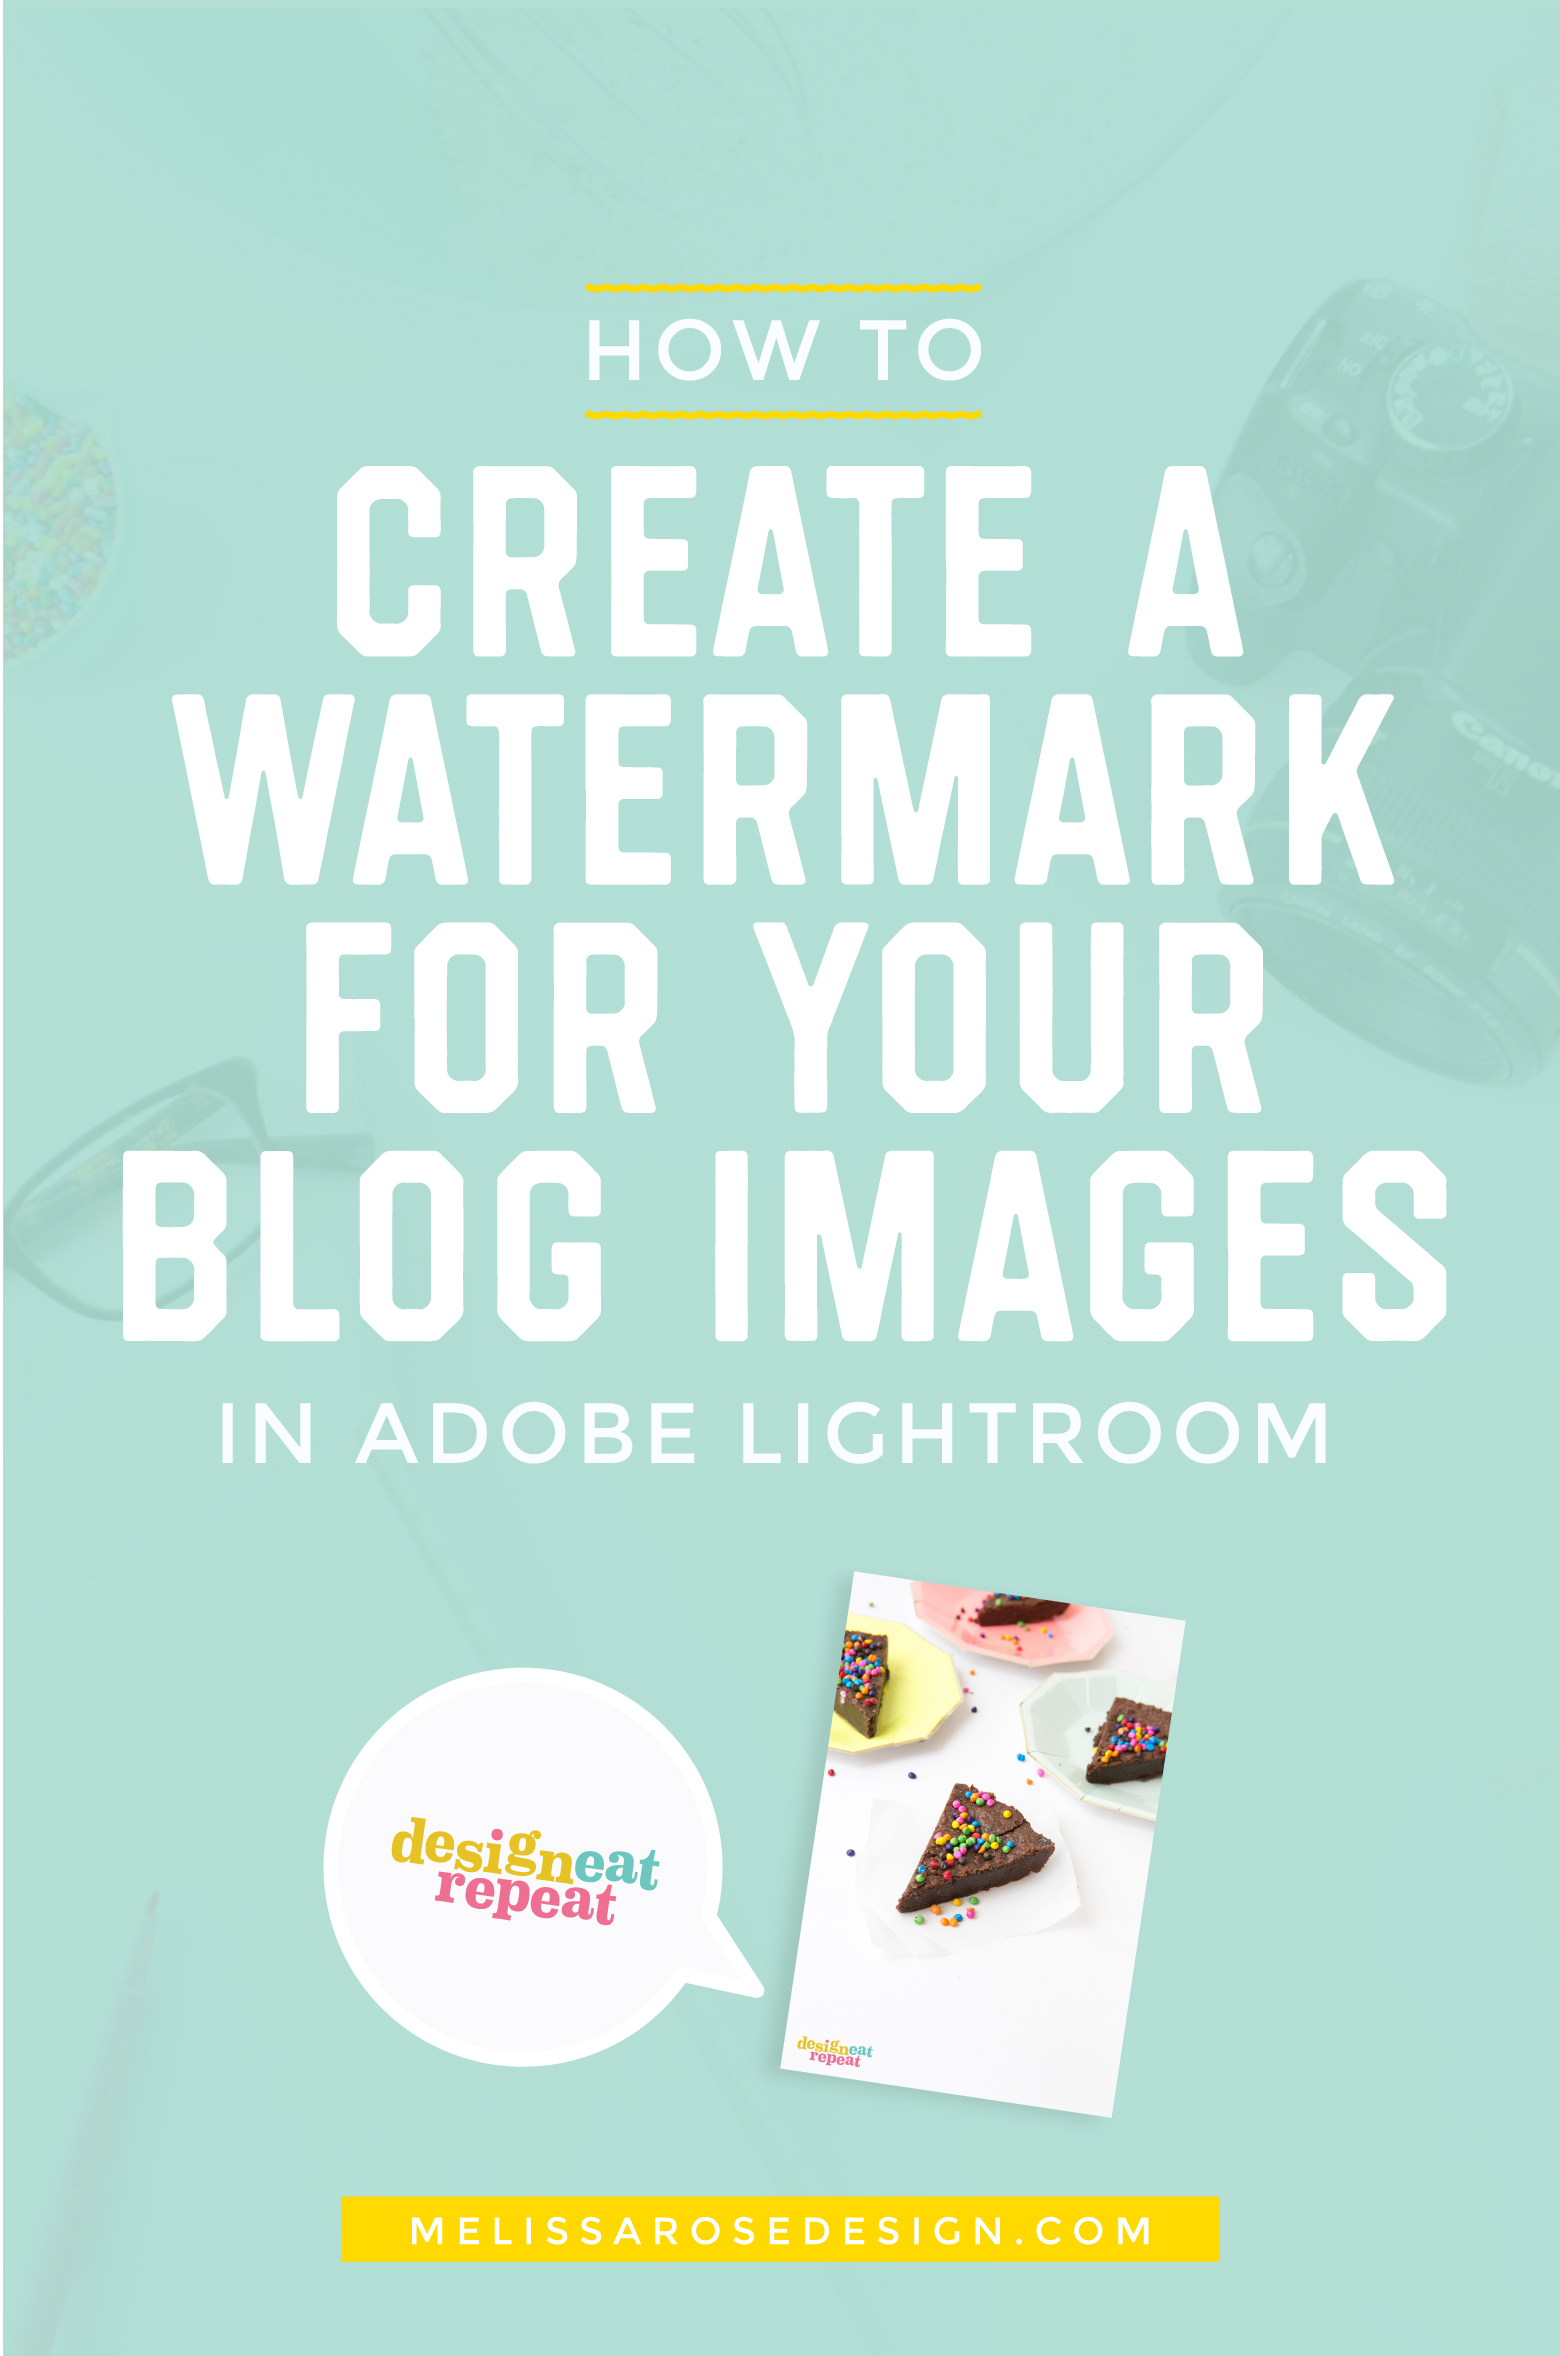
4. Watermark Your Images
Some bloggers may say that watermarking your images is pointless since it doesn’t take much for someone to easily crop or Photoshop your watermark out, but for me, I watermark my images less for the thieves and more for those people who may stumble across my images on Google or Pinterest.
Let’s say that someone shares your blog images on their site but fails to link back to you. Their reader then pins that image, but there’s no link back. Another blogger comes across that image and really wants to include it in their round-up posts and even though they can’t find the link, they can see your logo or URL on the image and find your site from there. In this day and age, someone might not go to all that work and just find a different project, but without a watermark it would be hard to track down the owner of an image.
So adding a watermark may not prevent a serial-stealer from using it, but it may make people think twice about stealing or improperly using your blog images.
How to Do This: Create a watermark template in Photoshop or Lightroom (tutorial here) and add it to the corner of each image. I recommending using your logo (if it’s not too busy) or keeping your text watermark one color (white, gray, or black) and lower the opacity to better blend in with your image.
5. Create A Vertical Image for Pinterest
Horizontal images may look nice in your blog posts, but once they’re pinned on Pinterest, they display much smaller than a vertical posts and are less likely to be pinned. Take a look at the how much space my vertical pink take up vs. the small, horizontal photo to its right:
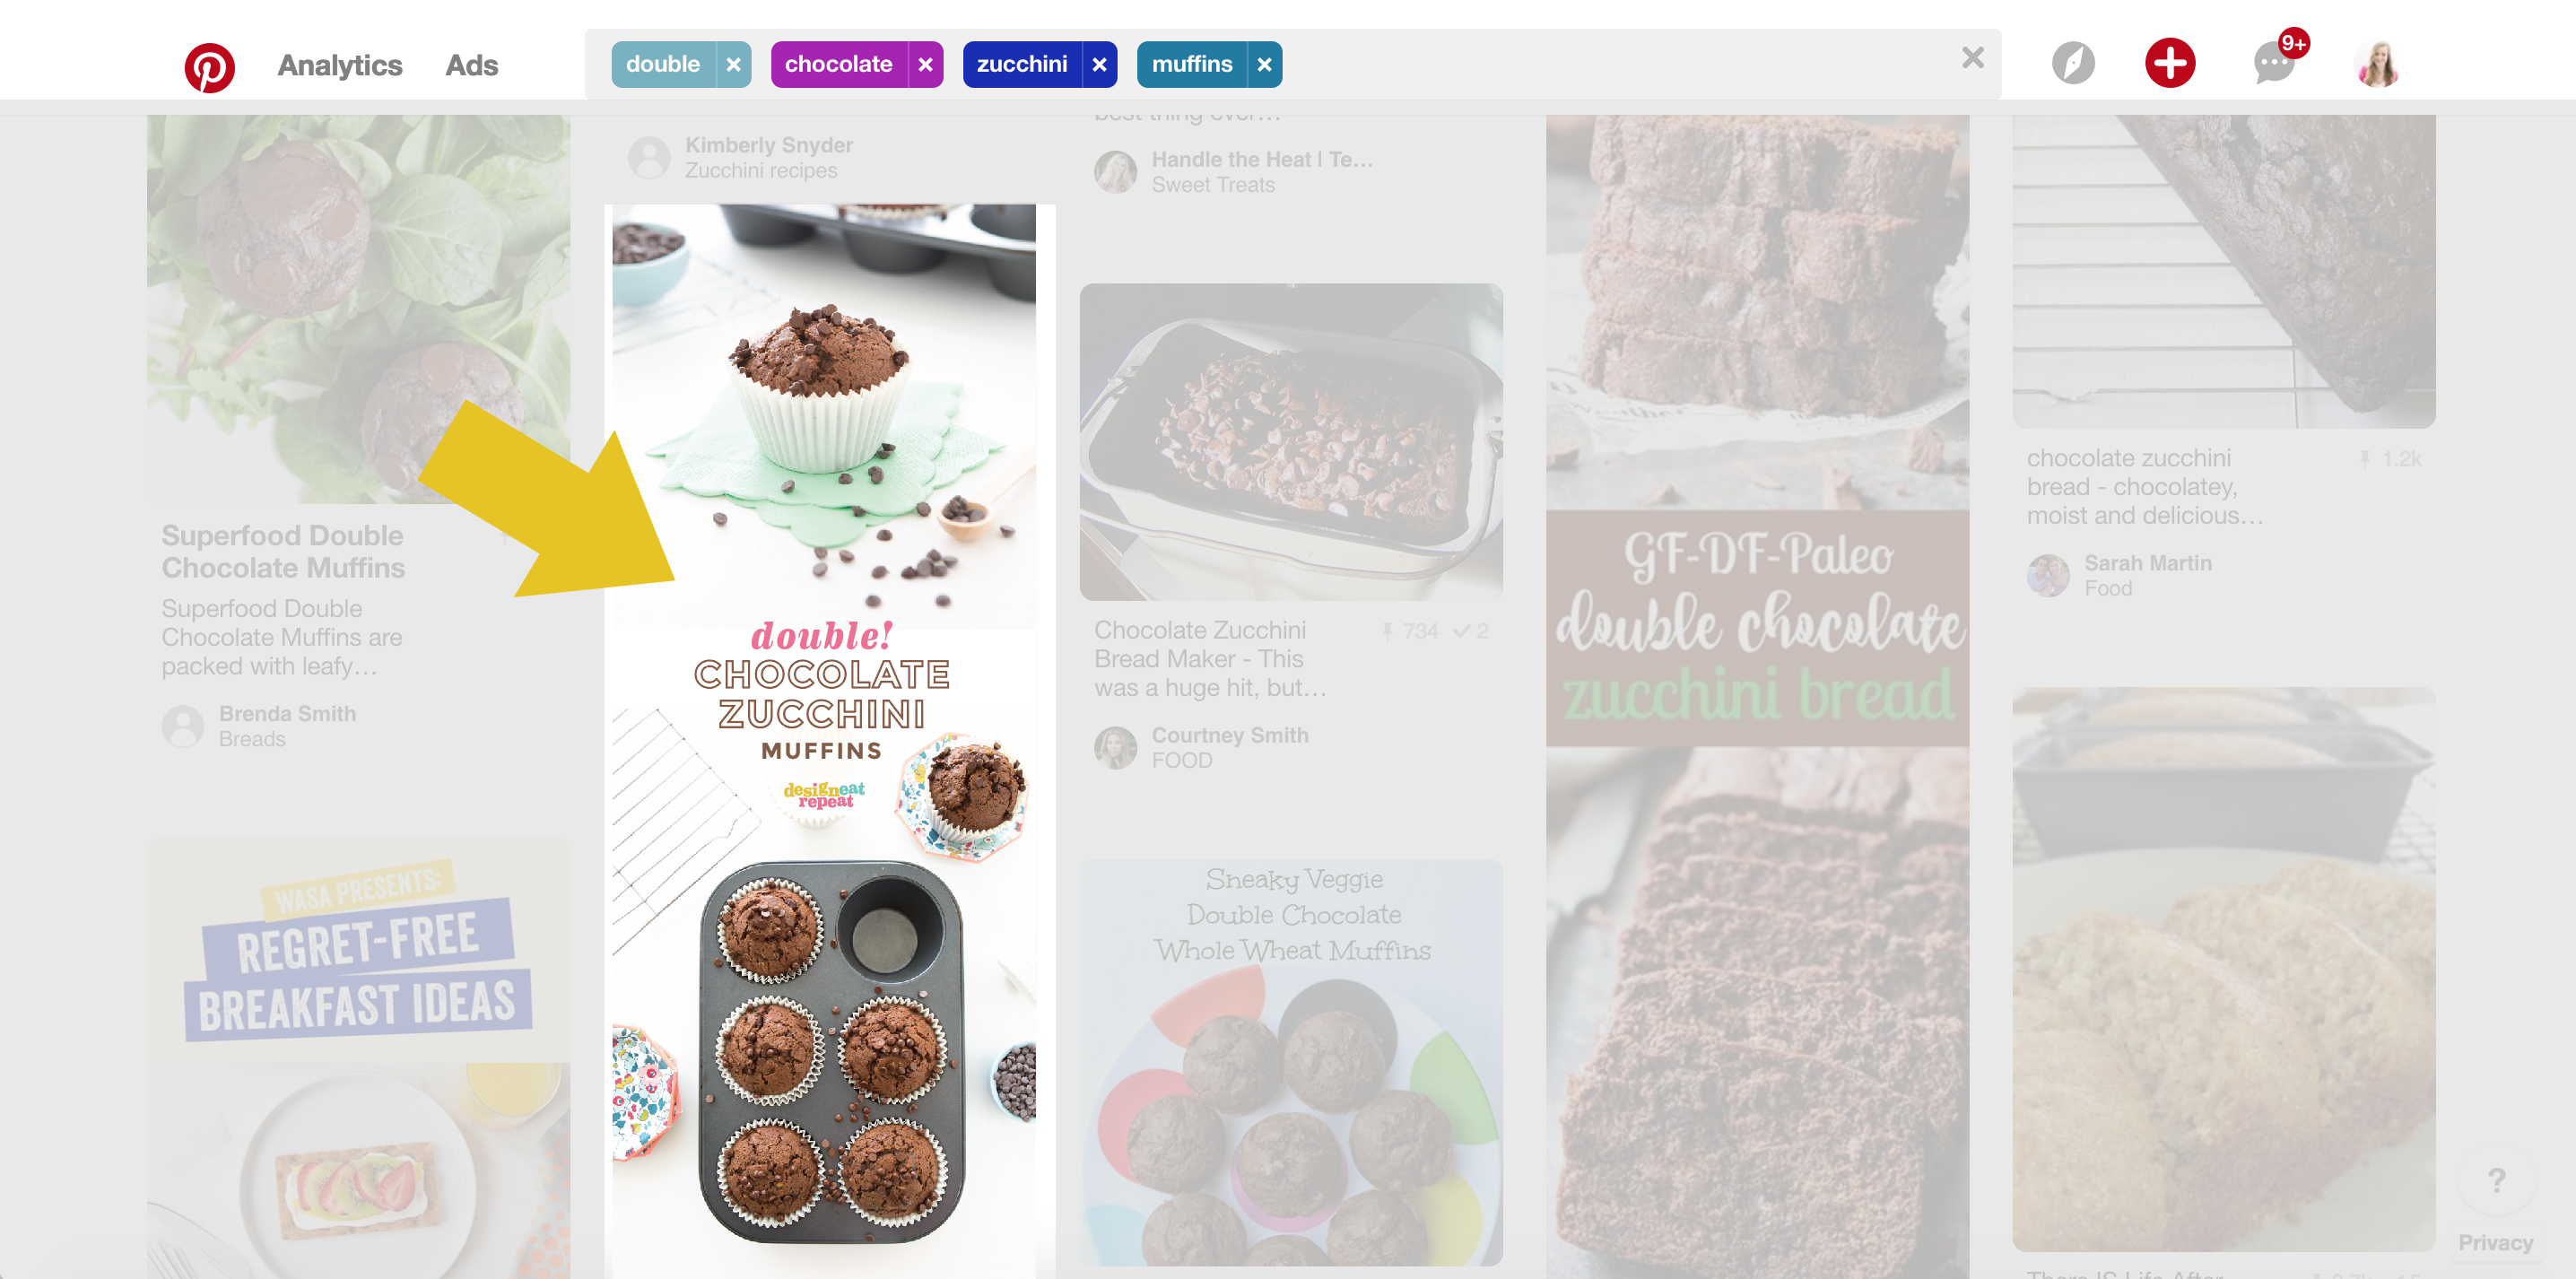
So if you want your images to perform better and get more repins, then using vertical images is the way to go.
How to Do This: I use Adobe Illustrator to create several type templates for images. Whether it be a simple typographic title or image collage, I try to include one pin-friendly image in each of my posts.

Tip: If you don’t like how much space large vertical images show up in your actual blog posts, did you know that you can hide them in the post and they’ll only show up when someone goes to pin? Kristie over at Blogging Ambitions has a great tutorial that has been updated with current best practices.
And there you have it! 5 tips to best optimize your blog images for speed, sharing, and SEO. In the comments below, let me know if you found this post helpful and what your biggest takeaway was that you want start implementing!
[line]
CRAVING MORE EXCLUSIVE BLOGGING TUTORIALS AND TRICKS?
If you’re a Food or DIY blogger wanting to learn how to beautifully brand your blog with confidence, come join me and over a hundred other bloggers in my FREE private Facebook group!
[line]
Share on Social